...
Login to your Splunk Cloud environment as a user with administrator privelegesprivileges
On the menu on the left click Find More Apps

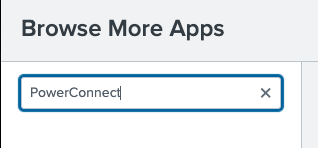
In the Search box under Browse More Apps enter “PowerConnect” and press Enter
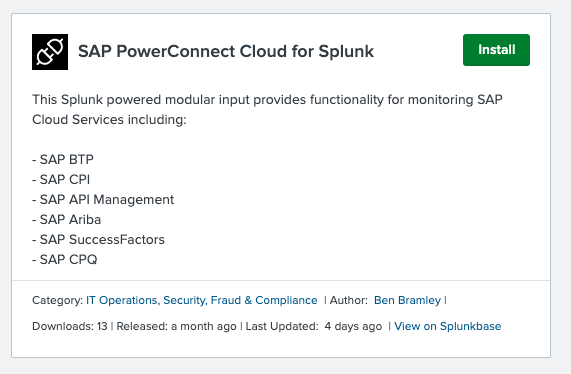
In the results go to SAP PowerConnect Cloud for Splunk and click Install
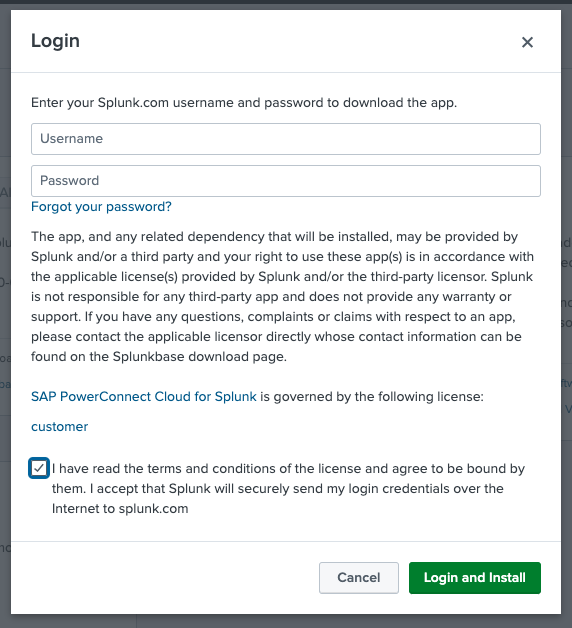
Enter your Splunkbase credentials, accept the terms and conditions and click Login and Install
Once the installation has completed click Done

Return to the Launcher by clicking on the Splunk Cloud icon in the top left and you should see the PowerConnect Cloud app has been installed

...
Login to the Splunk Web UI of the Splunk Heavy Forwarder as an admin user
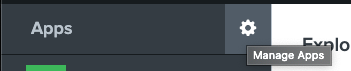
In the Launcer Launcher app click the Manage Apps icon on the side menu
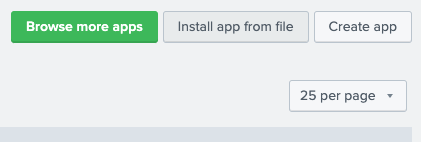
Click the Install app from file button at the top right of the screen
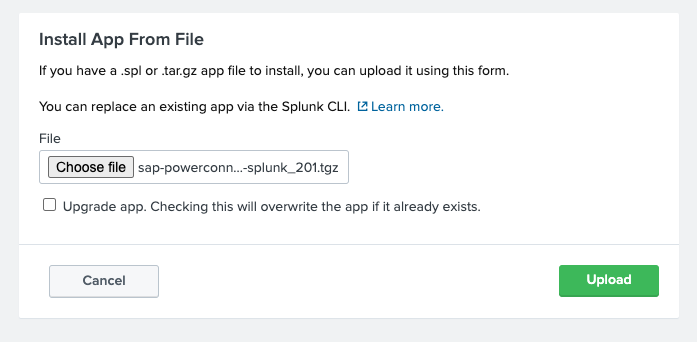
Click the Choose file button and select the PowerConnect Cloud modular input tarball, then click Upload
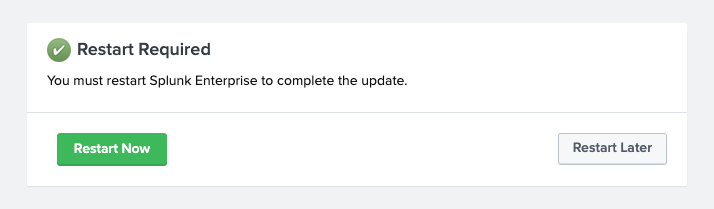
If a restart is required click the Restart Now button and click OK to confirm
After restarting the PowerConnect Cloud app should be visible in the Launcher app

SAP Cloud Foundry Installation
Installation Steps
Download the PowerConnect Cloud SAP Cloud Foundry package and manifest file
Make sure you have the Cloud Foundry command line tools installed
Copy the PowerConnect Cloud package and manifest file to a folder for deployment
Modify the manfiest file and enter a password for the POWERCONNECT_SECRET environment variable
Code Block --- applications: - name: powerconnect-cloud memory: 1024M timeout: 300 random-route: true path: ./powerconnect-cloud.zip buildpacks: - https://github.com/cloudfoundry/java-buildpack.git env: POWERCONNECT_SECRET: <insert password here> JBP_CONFIG_OPEN_JDK_JRE: "jre: { version: 11.+ }" JBP_CONFIG_DIST_ZIP: "arguments: ['start']"If required update the memory settings, by default the manifest will create a 1GB instance
Deploy the package
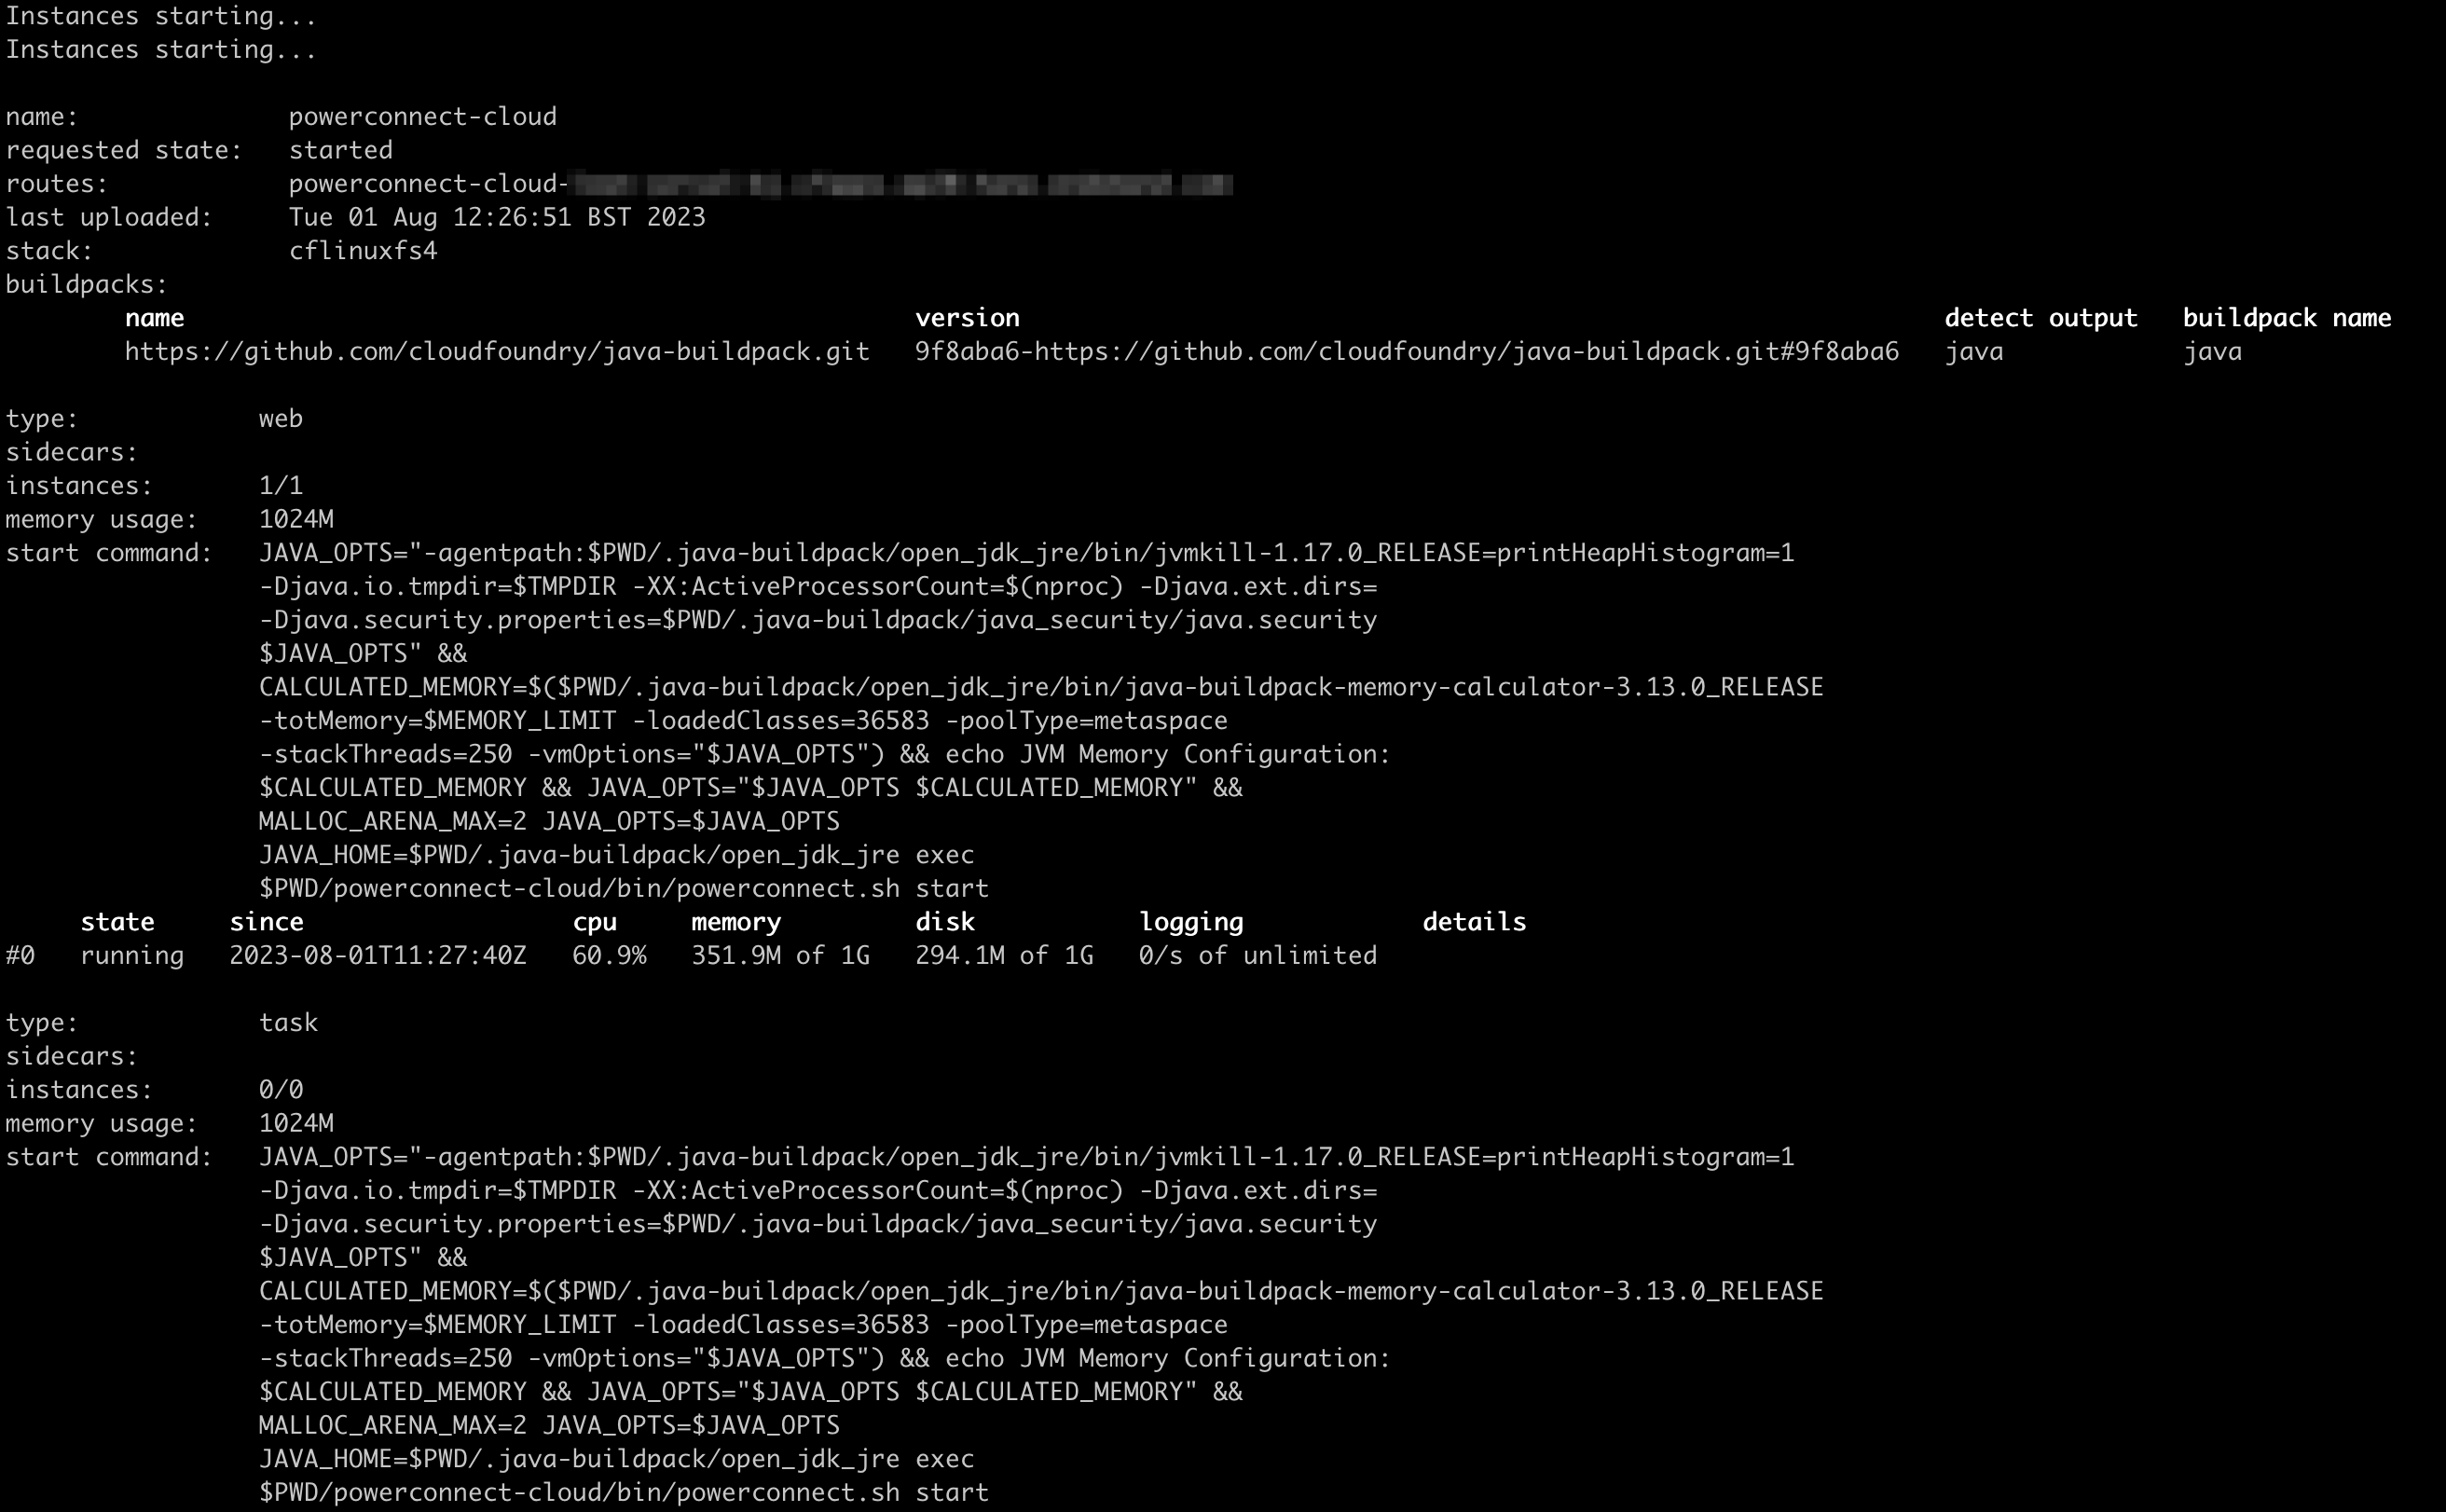
Code Block cf pushAfter a minute or two the process should finish and the PowerConnect Cloud agent should be in “started” state
The Cloud Foundry environment does not have persistent storage so we need to use the SAP Object Storage service for the PowerConnect Cloud agent to be able to persist its configuration
Follow the documentation here to create an object store service and bind it to the PowerConnect Cloud app - https://help.sap.com/doc/3e17a6e11f3e46f4af9f33387471e3e0/Cloud/en-US/ObjectStore-EN.pdf
Once the Object Store service has been bound to the PowerConnect Cloud app restage the app
Code Block cf restage powerconnect-cloudThe PowerConnect Cloud application should now be running and leveraging object storage as it’s datastore
Code Block cf env
...
Get the url that the PowerConnect Cloud agent UI is running on
Code Block cf apps
...
Copy the value under routes and paste into your web browser and the PowerConnect Cloud UI should be displayed
